Anyway, I’m Ethan Caldwell, you know. So, if you've ever popped by our spot, the Takashima Record Bar, you kind of get that we treat the whole act of pouring a glass like it's a huge deal, seriously. A really tasty mixed drink isn't just about the price tag on that bottle of clear booze, to be honest. It’s more or less about being super careful with your hands and having stuff that doesn't just break on you, you know. When I'm out there making plans for drink spots all over the map, I always start with the very basic stuff, as a matter of fact. Loads of people who just enjoy a sip make the mistake of buying those bright, shiny kits that look good but don't do much, kind of. These things usually just fall apart or act really clunky, literally. To whip up a drink at home that tastes like a pro made it, you totally need stuff that is built like a tank and works every single time, at the end of the day.
Those metal cups for shaking: what the pros use
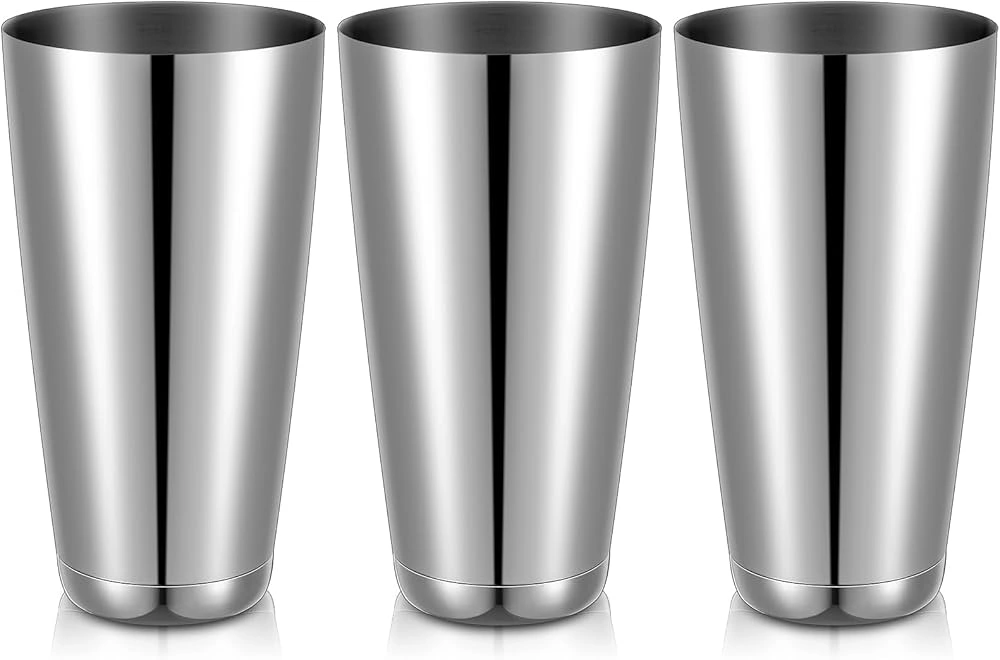
amazon.ae
Putting together a home spot for drinks should be more like putting your money into stuff that actually lasts, you know. You don’t need twenty different little gadgets, of course. You just need five or six really good pieces of metal that will basically stay in your kitchen forever, honestly. In this little list, I’m going to talk about the main tools I grab every single day when I’m behind the bar, in a way. These bits and bobs will help you get that same smooth feel and right mix that we give people at Takashima, seriously.
Ok, so there are two big kinds of shaking tins out there: the Cobbler and the Boston. That Cobbler one has a built-in metal screen and a tiny little hat on top, right. It might look like something from an old movie, but I almost never tell people to use it at home, to be honest. Those little hats usually get stuck because the ice makes the metal shrink, and the built-in screens are just way too slow, basically. I always tell people to get a Boston Shaker that has some weight to it, actually. This is just two metal cups made of stainless steel that slide into each other, you see. A Boston Shaker gives way more room for the ice chunks and the liquid to bounce around, in fact. This makes for a drink that has more air in it and gets super cold, pretty much. Look for those cups that are "weighted," which is just a fancy way of saying they have some heft, you know. That extra heavy bit makes the whole thing feel steady and helps the cups stick together tight, sort of. It feels way better in your palm when you’re doing the shaking move, honestly. When you’re all done, just a quick little bonk on the side makes the cups pop apart right away, anyway.
Getting the amounts right with a tiny measuring cup
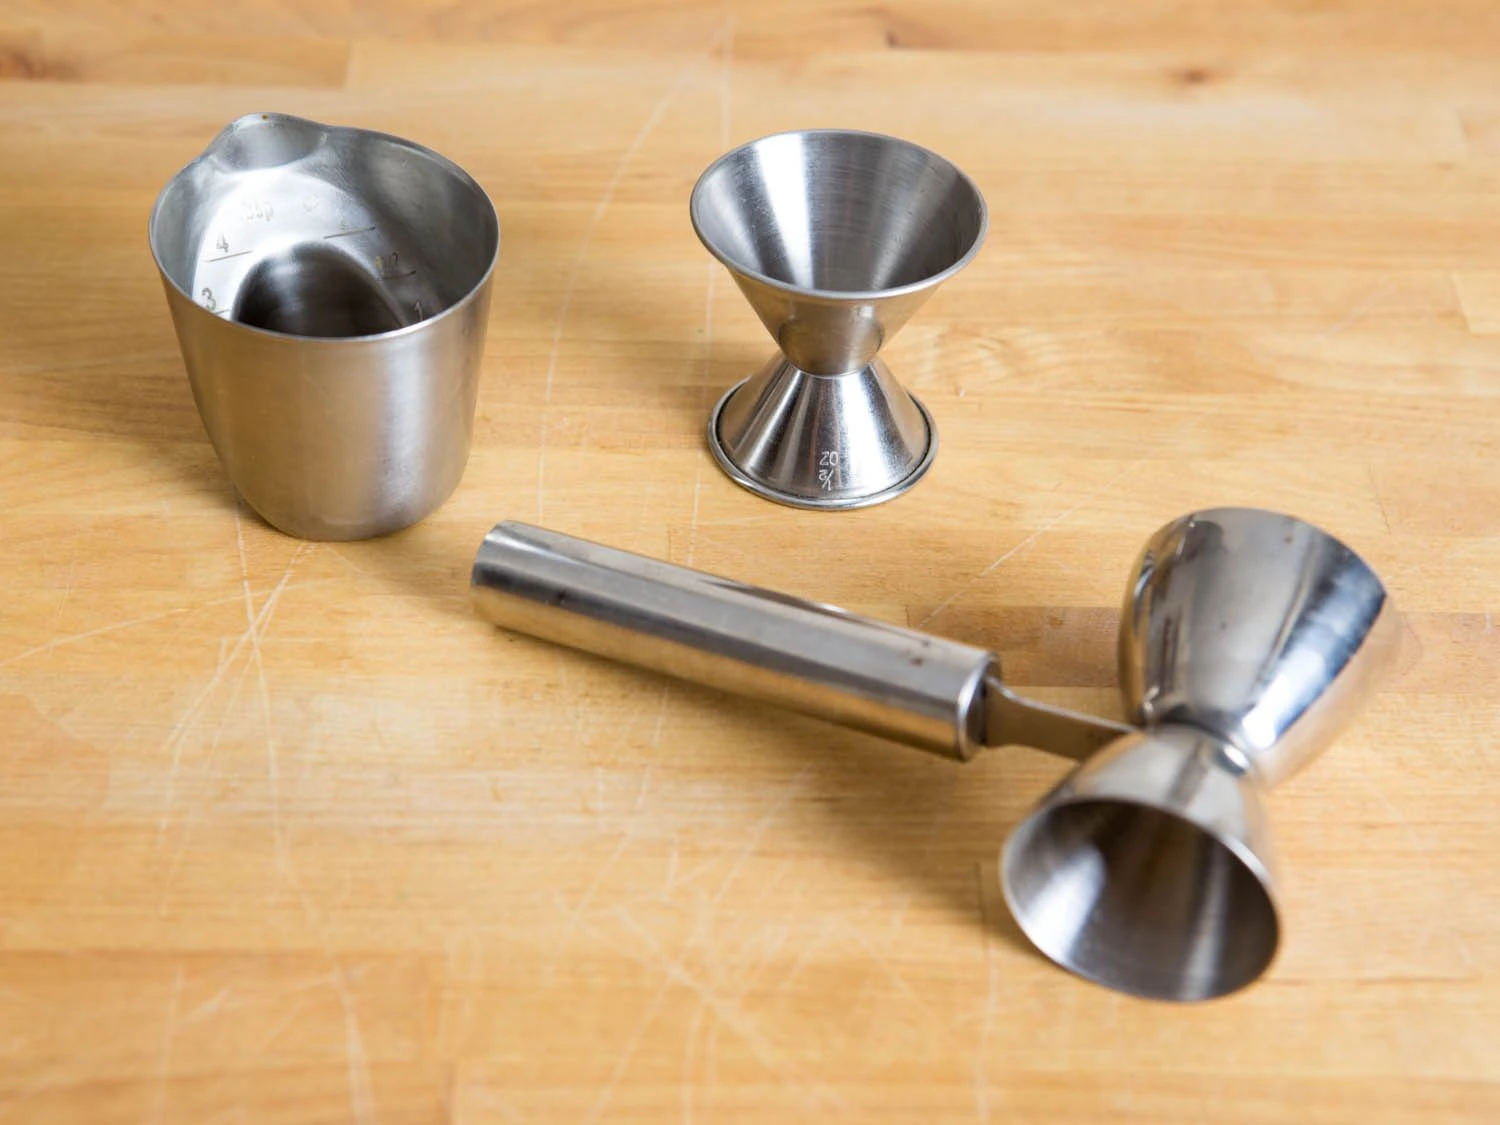
seriouseats.com
Being the same every time is the big thing that separates a guy who is okay at drinks from a guy who is really great, clearly. You should never just guess the amount you're pouring if you want a drink that tastes right, obviously. A little measuring cup is your most big-deal tool for getting things just right, actually. I really like that Japanese-style measuring cup, because it’s tall and thin and looks kind of cool, to be honest. That shape makes it a whole lot easier to pour without making a mess on the table, you know. Most of those Japanese cups have a big side and a smaller side, which is pretty handy. The inside should have little lines scratched in so you can see the tiny amounts, like a little bit or a medium amount, in a way. At our spot, we think that being off by even a tiny splash can totally mess up the way a light drink like a Daiquiri tastes together, seriously. Measure every single little drop, ok finally.
That long spoon and the way you spin it
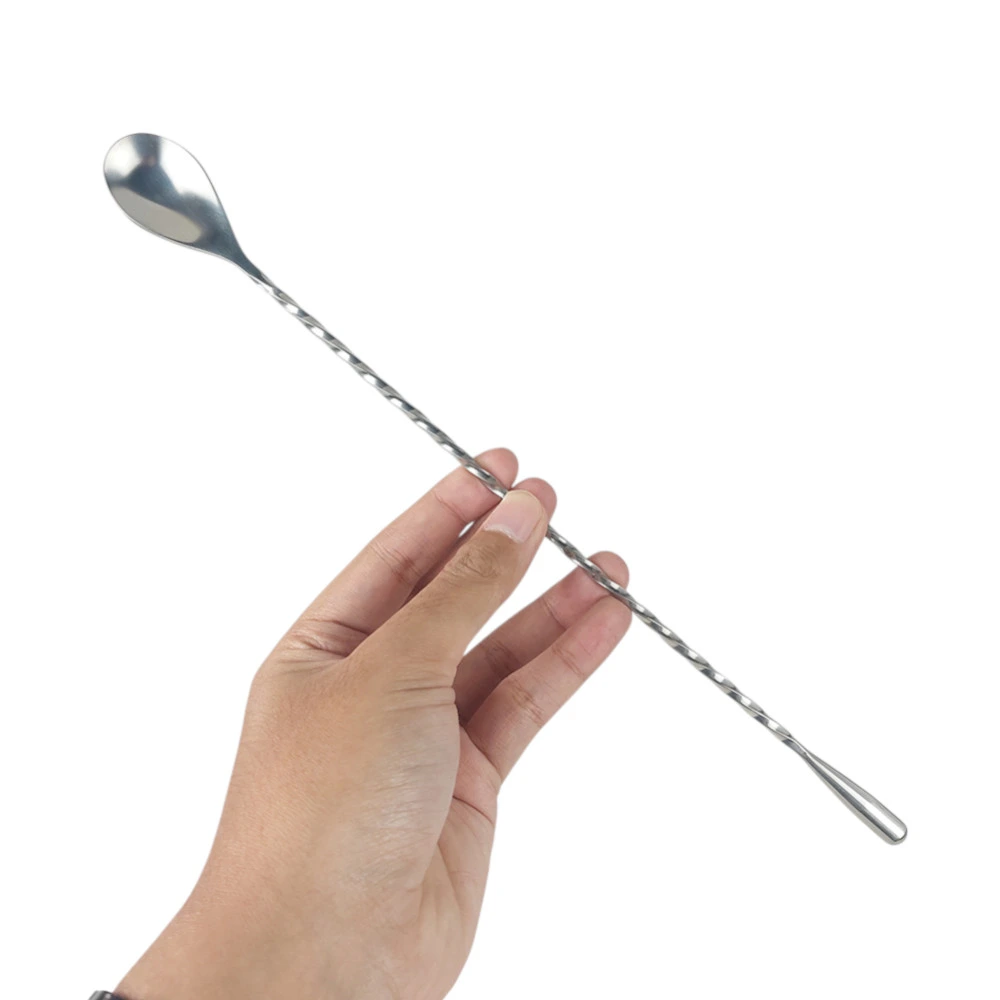
jakartanotebook.com
Not every single drink needs to be shaken like crazy, you know. Drinks that are just made of strong booze—like a Negroni or those Manhattan things—need to be stirred around, basically. Stirring things keeps the liquid feeling like silk and stops it from getting too watered down, actually. For this move, you need a real bar spoon, sort of. A regular spoon from your drawer won't do the trick, to be honest. It’s too short and doesn't have that right feel in your hand, you see. A good bar spoon is usually pretty long, like from your elbow to your wrist, in fact. It has this handle that’s all twisted up like a spiral, you know. That twisty part let's the spoon spin around easy between your fingers while you move it around the edge of the glass, more or less. I tell people to get a spoon with a heavy bottom or one that looks like a raindrop, honestly. That weight helps it keep moving on its own while you’re stirring, anyway. Just keep doing the move until the ice is spinning around without making a sound, basically.
The screens for catching the ice
advancedmixology.com
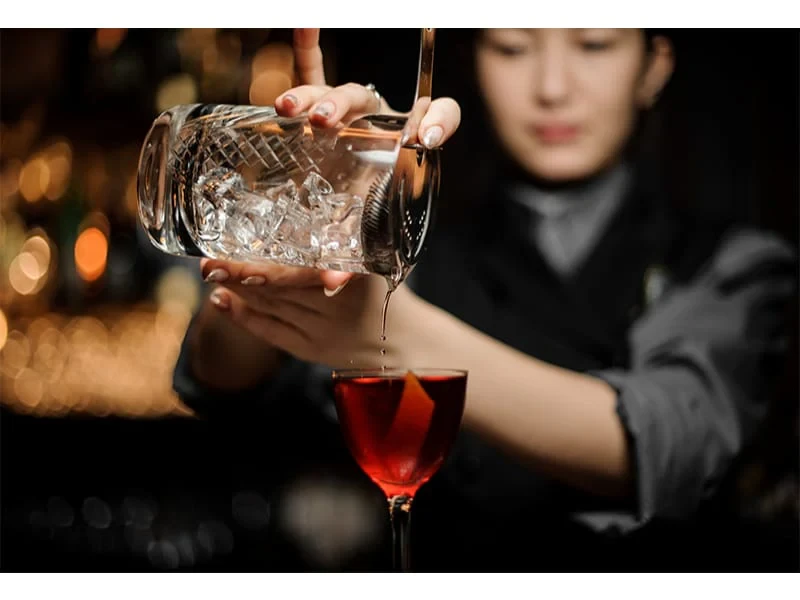
Once you’ve done the shaking or the stirring, you need to get the liquid into the glass without all that ice falling in, clearly. If you’re using those two metal cups, you need a Hawthorne screen thing, of course. That’s the one that has that bendy metal spring on the edge, you know. That spring grabs all the big chunks of ice and the mushy fruit bits, basically. It fits right inside the metal cup like it’s supposed to be there, seriously. For drinks that you stirred, the pro guys use a Julep screen, actually. It looks like a big metal spoon with a bunch of holes in it, to be honest. It fits perfectly into that heavy mixing glass, you see. Plus, I say you should do a "double screen" move if you want a drink that looks really clean, in a way. That means holding a tiny little tea screen over the glass while you pour from the other one, right. This catches those teeny tiny ice bits that can make a drink look a little fuzzy, more or less.
Smushing sticks and skin shavers
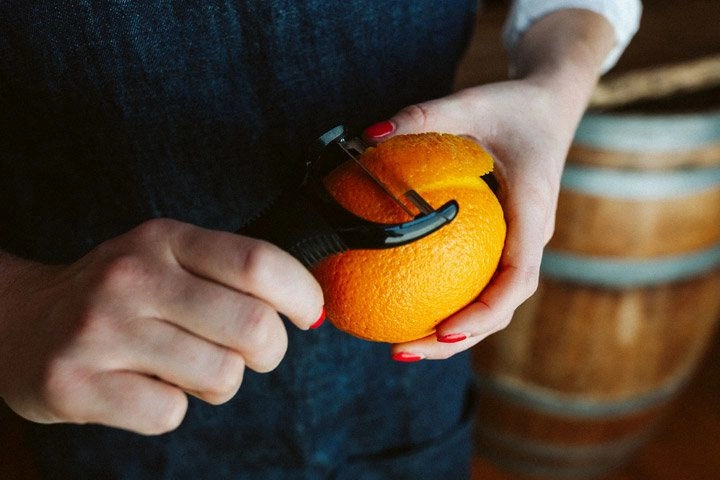
To get the good flavors out of fresh stuff, you need a big stick for smushing, you know. Stay away from those wooden sticks that have "teeth" on the bottom, honestly. Those teeth usually just rip up the mint leaves, which makes things taste like bitter grass, basically. Instead, go for a stick with a flat bottom made of tough plastic or smooth wood, as a matter of fact. You just want to push down on the stuff, not turn it into dust, you see. For the little bits on top, a peeler that looks like the letter Y is like a secret trick, seriously. A pro peeler lets you grab big, wide strips of the fruit skin, to be honest. Those strips have all the smelly oils that make the drink smell great, in a way. A thin, messy piece of peel won't give you that same cool feeling for your nose, anyway.
The list of stuff you need
-
Heavy metal cups (the big one and the smaller one), you know.
-
That tall, thin measuring cup with the lines inside, basically.
-
A really long spoon with a twisty middle, anyway.
-
That springy metal screen for the shaker, seriously.
-
A teeny tiny tea screen for the extra bits, actually.
-
A flat stick for smushing the fruit, honestly.
-
That skin shaver that looks like a Y, ok finally.
Ethan’s easy tricks for your home setup
Having the gear is only the first move you make, clearly. You also have to be nice to your stuff, you know. Here are a few easy tricks I’ve picked up over the years to keep your drink-making spot running smooth, basically. Make your gear cold: if it's a super hot day, put your metal cups in the freezer for ten minutes before you do anything, honestly. This stops the metal from turning your ice into water too fast, of course. Wash them with your hands only, as a matter of fact. Stay away from the machine that washes dishes, even if your stuff is made of stainless steel, to be honest. The high heat and the strong soap can make the finish look dull and break the spots where things are joined together, seriously. The "two-cup" trick: when you're using those shaking tins, always put your drink together in the smaller one, you see. Fill the bigger one with ice, and then put them together, in a way. This makes sure you don't put too much stuff in the shaker, right. Dry your stuff off, anyway. Always wipe your gear dry with a soft cloth after you wash it, basically. This stops those little water spots and keeps your bar looking as sharp as the one at our place, more or less. Get a heavy glass for mixing, you know. It’s true you can stir things in a metal cup, but a big glass jar stays colder and looks way cooler on your counter, to be honest.
Make it feel special
Having a pro-style kit at home really changes how you feel about your booze, seriously. It turns the whole act of making a drink into a little show, basically. At our spot, we really care about how things sound and how they taste at the same time, you see. When you use good stuff, the sound of the ice and how heavy the spoon feels becomes a part of the groove of your night, almost like you're listening to a record with basslines heavy on the reverb, honestly. It sets peoples' minds back to those times when people really put effort into things, in a way. Start with these basics, keep practicing your moves, and you'll be pouring drinks that are just as good as the ones in the big city bars, at the end of the day. I’m looking forward to seeing you at the bar soon so we can talk about your home setup, anyway.
Leave a Comment